

Hi everyone,
After I’ve recently become very familiar with AWS, “How can I use AWS as a Python Developer?” I realized that I could not find a neat answer to the question. Philosophy is clear, “You either find a way or you make a way.” Let’s start 🙂
What is EC2?
One of the fundamental blocks of AWS, EC2 is actually one of the oldest services of AWS. In a standard application, if we were not in the cloud environment, we would install our application on the server and trigger the CI/CD process to publish it. For EC2, we can make a brief definition as the environment where we install our application during the CD process. Of course, the advantages of EC2 will be the best way to explain why we should use it. EC2 is a virtual server that provides us with the familiar GNU/Linux (and/or optionally providing OS layer) environment that allows us to scale our application (almost) unlimitedly, define security rules, publish it outside or within our own ecosystem.
The most important factor that makes EC2 advantageous is its scalability;
Horizontal / Vertical Scaling
While doing this scaling, it provides an extra advantage as it does not deal with problems such as server updates and maintenance costs. When we want to scale vertically with EC2, it is possible to connect our EBS (Elastic Block Storage) environment where we install our application to another EC2 and switch it to a higher equipped server (actually EC2 🙂 ). Horizontal scaling is easier, because thanks to ASG, the Auto Scaling Group, we can provide a minimum of how many instances an application will run, how many instances will stand up under load, and how many instances will fall after the load is finished, again with the ASG configuration. For more detailed information, take a look here.
Scaling On-Demand or Reserved
There are actually 2 methods of scaling that I mentioned in the previous title;
- Maximize app when app is under load (more economical)
- Always keep the desired amount of EC2 ready for the application and use it. (costly but more stable)
Always Up and Running and Reliable
When you need a server, you always get a bit of a headache with the Devops side, “Why is this server needed? What will be the hardware specifications of the server? Which ports will be open? who will have access?…” we have to deal with many questions such as. Considering that all of these are under control a
nd we do not need a maintenance process for EC2, we can say that it offers a much more stable environment. Of course, by the way, AWS is largely responsible for the security of the EC2 environment (however, if you leave your password and all ports open for access, AWS won’t have much to do 🙂 )
Compatibility with Other Sub-Technologies
This is actually much more critical and important than its other advantages, but I would like to leave the details to another article and explain it superficially so that the subject of the article does not get distracted. Let’s say you have a web application, of course, you need a database, a cache layer, and a storage area to store your files. If you want to meet these basic needs in an AWS environment, you can use EC2 as an environment, Elasticache as a cache, RDS as a database, and S3 to store your files. It will take you at most 1 hour to get these environments up and communicating with each other (I assume all configurations are basic). Such an infrastructure is bare-metal, so it would probably take days if it were to be built in your own server environment.
After all this AWS, EC2 clarification, now that we understand why we need to build an existing Django application with EC2, we can start learning how to do it.
Publishing Django App on EC2
I’m using a django application that has a single endpoint, showing the default Django index on its homepage for simplicity of our application. We start by making the necessary settings for our application to run in the production environment,
We change the “ALLOWED_HOSTS” section under Settings to “*”, that is, to answer all incoming requests.
In order to install the necessary packages of our web application in the EC2 environment, we save the dependencies to requirements.txt with the “pip freeze > requirements.txt” command.
To test our application, we launch it in the local environment by saying “python manage.py runserver 8000”;
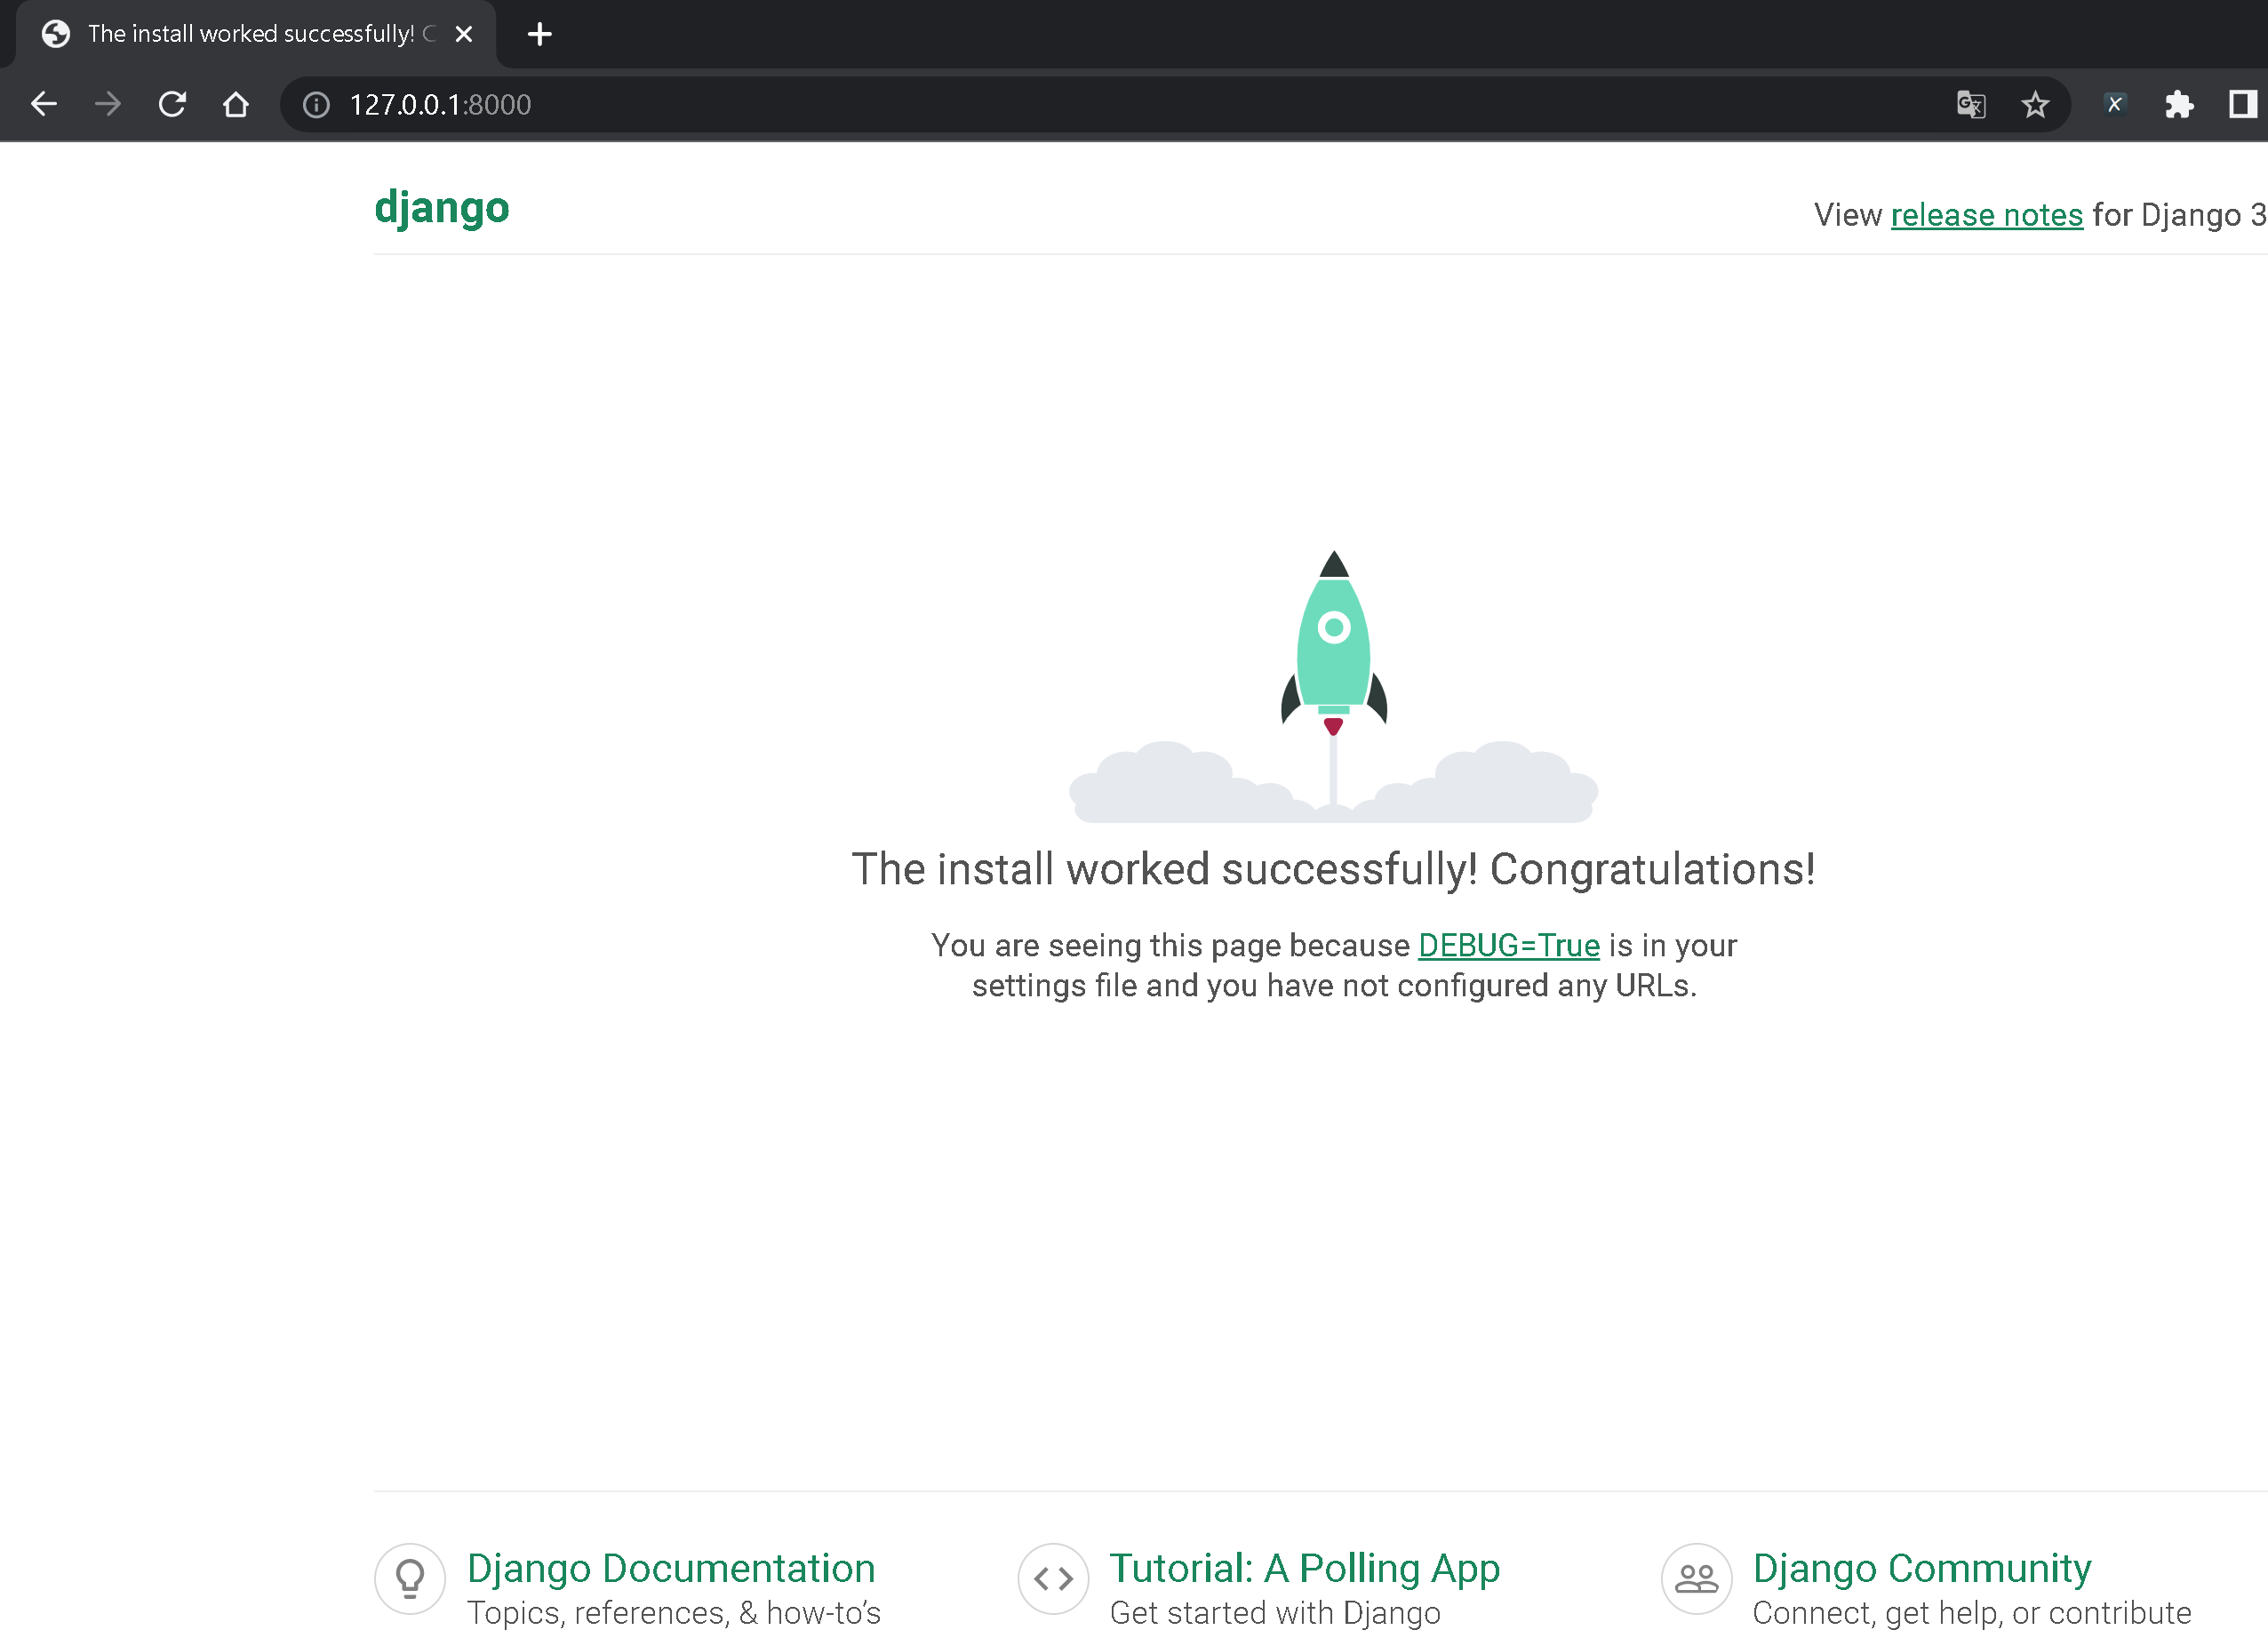
If we want, we can upload our application to Github at this step, so that we can avoid the trouble of transferring files to the server, but since I want to show how to send a file directly to the server, I will proceed by transferring it from my local environment.
EC2 Instance Creation
We are logging into AWS. Search for EC2 from the search bar and switch to the EC2 tab;

Since we are installing for testing purposes, we choose the free version “t2.micro” and ubuntu as the operating system preference;

If you haven’t created it before, we will transfer our file over SSH connection using Key Pair to be able to transfer files. You can see how to create a Keypair in this article.
If you do not choose a keypair, it will not be possible for you to access your server via SSH for security reasons.(but it is possible to add later, of course, this is a bit more troublesome.)
In the Network settings section, we need to set the ports from which our EC2 instance can be accessed. In this step, we open HTTP access to proceed with HTTP and SSH connection to connect to the server;

We’re just waiting for EC2 to launch and be ready shortly. An important point here is that the EC2 you command is not ready immediately, so if you try to reach your EC2 instance during this time, you will get an error;


When we see “Running” in “Instance State”, everything is fine and our EC2 container is ready. We start by connecting to EC2, click on the ID, select connect in the upper right and go to the “SSH Client” tab among the options;

when we test our connection we should be able to connect to the EC2 instance;

it is always necessary to update your packages when connecting to a new GNU/Linux environment, so you will also update the packages with the old version and eliminate the possibility of getting errors because of them, we also install the pip package manager we need;
sudo apt update && sudo apt -y upgrade
sudo apt install python3-pip
Now we will transfer our project, which is in our local environment, to the EC2 environment. For this, we will use the “scp”, that is, the Secure Copy Protocol command, while adding our PEM file, we must also indicate that we are accessing the server as an authorized person;
scp -i [KEYPAIR_FILE].pem -r [project_file_name ] ubuntu@[EC2-name].compute-1.amazonaws.com:/home/ubuntu/
If we examine the code a little, we show the directory of our pem file with the “-i” parameter. We put the directory where the project is in the “project_file_name” section, finally we specify which address we want to transfer in the EC2 environment, with the “-r” parameter we specify that we want to move all the files under the specified directory. If everything is ok, you should see an output like this;

After this step, we have any GNU/Linux server in front of us and we can act as if we are building our project on it. We can define it as a service or run it via manage.py. In order not to confuse the issue, we load the dependencies of the project in the EC2 environment for testing purposes and publish our project on port 80;
sudo su
pip install -r requirements.txt
python manage.py makemigrations
python manage.py migrate
python manage.py runserver 0.0.0.0:80 &
If everything is fine, we go back to AWS console, we get the URL address of our EC2 instance;

When we open the URL, we see our django interface;

You can find the sample project (if you are melting 😀 ) here.
See you in my next post 🙂
